
Video Call Lighting for Bald Men: Reduce Glare

Video call lighting for bald men works best when the light is large, soft, and in front of the face—not when you try to erase every bit of normal scalp reflection. A shaved head can look crisp and professional on Zoom, Teams, or Google Meet. The common problem is a small overhead bulb, bright window behind you, or webcam exposure setting that turns a normal highlight into a white hotspot.
You do not need a studio. A shaded window, a lamp near the screen, and an eye-level camera solve most calls.
Quick read
A window, lampshade, or diffused light creates a broader reflection than a bare bulb or ceiling fixture.
Put the strongest light in front of you, near the camera—not behind your chair or directly above your head.
Check your actual call preview before changing skincare. A hotspot that moves when the lamp moves is a lighting issue.
Quick answer: how to reduce bald head glare on video calls
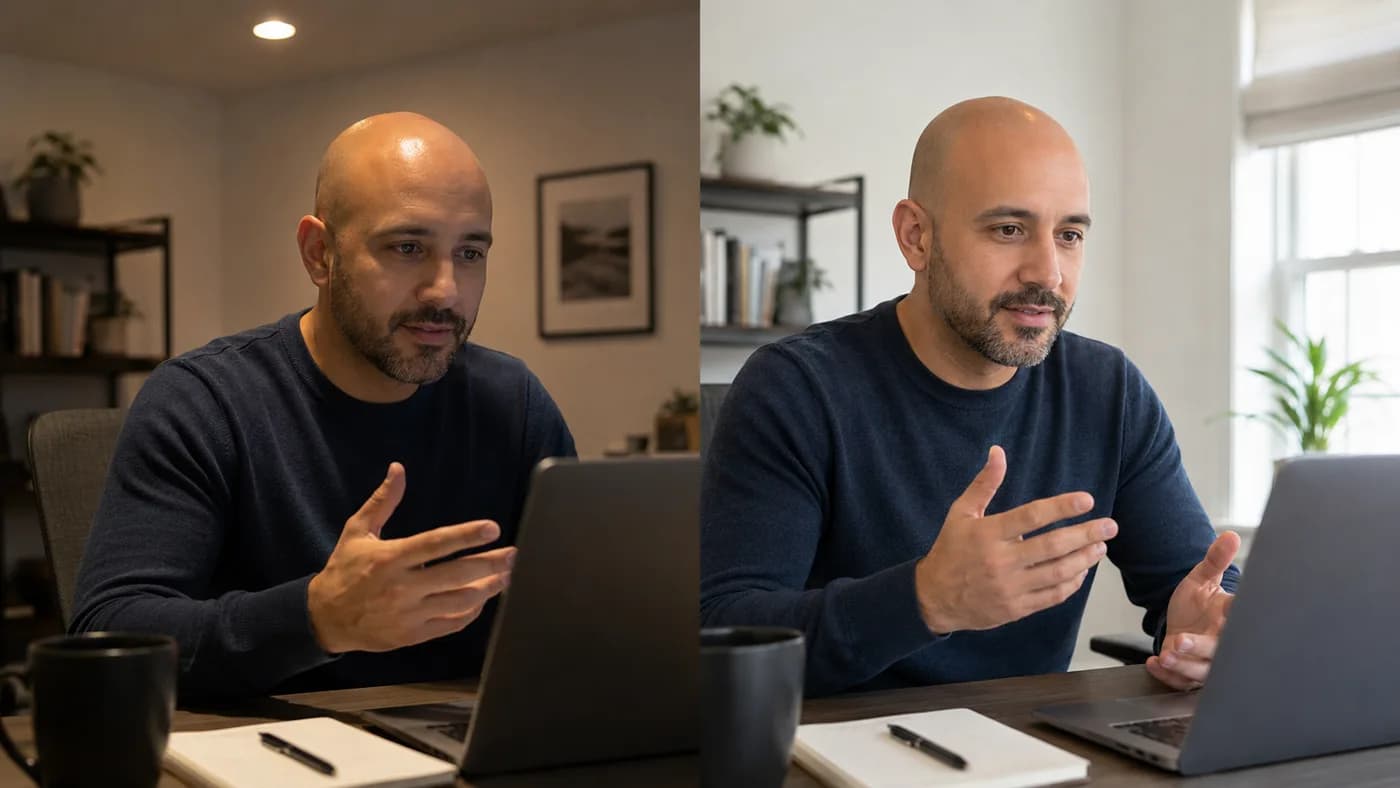
Face a large window or place a diffused lamp behind your screen, slightly above eye level and a little to one side. Turn off or reduce any hard overhead light. Set the camera at eye level, sit far enough back that your upper chest and head fit comfortably in frame, and use your app’s preview to check for a bright spot on the scalp or rectangles reflected in your glasses.
If the scalp looks normal in soft daylight but flashes white under one lamp, the light is the first thing to change. Zoom’s own guidance recommends indirect light for video conferencing to avoid washed-out images, while its desktop app also offers preview controls such as Portrait lighting and low-light adjustment when the room itself cannot be changed (Zoom Lighting Concepts, Zoom video enhancement settings).
Why bald heads show glare differently on a webcam
Hair breaks up light. A smooth scalp presents one continuous surface, so it can show a clearer reflection—especially from a small source. That is not automatically oiliness or poor grooming. The issue is specular glare: a concentrated, high-contrast reflection that pulls attention away from your eyes.
Webcams amplify the difference by choosing exposure for the whole image. A bright window behind you can darken your face; a bare ceiling bulb can create one hard circle at the top of the head while leaving the eyes shadowed.
For everyday scalp care, see Bald Head Shine: Natural, Matte, or Polished?.
The four lighting setups that work
Start with the simplest setup you can repeat. A reliable, unglamorous setup is much more useful than a perfect arrangement you only build for an interview.
| Setup | Position it like this | Best for | Watch for |
|---|---|---|---|
| Shaded window | Face the window; stand or sit a little inside the room | Daytime calls and quick meetings | Direct sun, changing clouds, and a bright window behind you |
| Desk lamp | Put a shaded lamp just behind the screen, 20–45° off center | Evenings and small desks | Bare bulbs or a lamp pointed down at the scalp |
| Inexpensive soft light | Place a diffused LED slightly above the camera and off center | Frequent calls and predictable light | Starting too bright or too close |
| Permanent desk setup | Use one soft key light plus a dimmer background light | Home offices and client-facing work | Mixed color temperatures and a distracting background |
1. The window setup: the best no-purchase starting point
Sit facing a bright window, not with it behind you. Keep it roughly in front of you or up to 45 degrees to one side; a sheer curtain, blind, or open shade softens direct sunlight. This makes the scalp highlight broad and gentle instead of tiny and intense. Logitech likewise recommends avoiding windows behind the subject because they can create silhouettes and exposure problems (Logitech meeting-space environment guidance).
2. The desk-lamp setup: make a small light less small
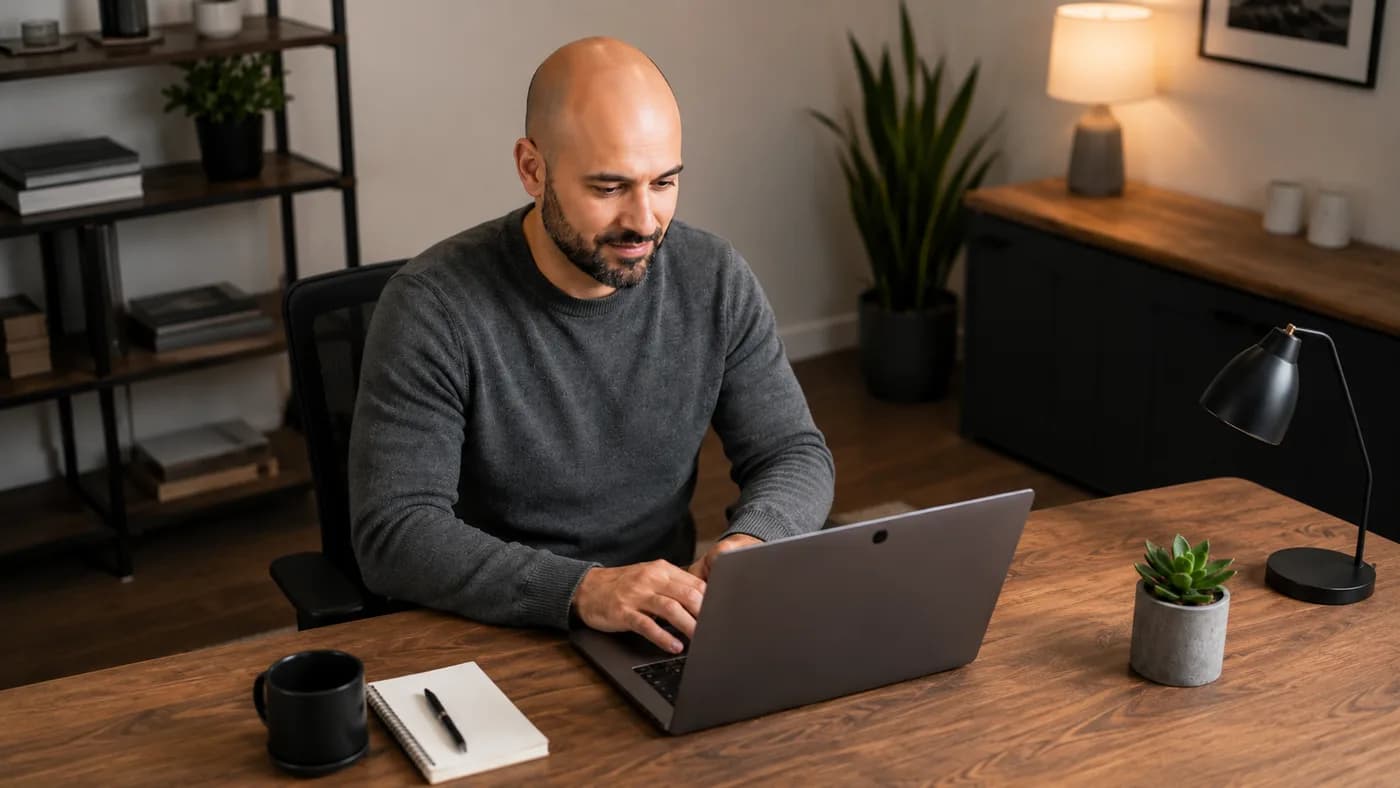
A basic lamp can work when softened and placed correctly. Put it near the webcam, behind or just beside the monitor, a little above eye line. A lampshade, frosted bulb, or bounce off a pale wall makes it broader.
Do not place it low beside your keyboard or straight overhead. If it still looks harsh in preview, move it farther away. Try this sequence: dim it, raise it, move it 20 to 45 degrees off center, then bounce or shade it.
3. The inexpensive soft-light setup: control the meeting, not the weather
For regular calls, a small diffused LED or soft light is a practical upgrade. Place it slightly above camera height and a little to one side. Start dim: a bright, close light can flatten features and exaggerate the reflection you are trying to control.
Use one color temperature when you can, and light your face before the background. Zoom also advises balanced room light and notes that reflective surfaces can distract viewers or complicate automatic exposure (Zoom Lighting Concepts).
4. The permanent home-office setup: repeatable and low-drama
For presentations or several meetings a week, establish a repeatable zone: one diffused key light near the camera, no overhead hotspot, and just enough background light to keep the wall from disappearing. Keep backgrounds quiet—a plain wall, ordered shelf, or plant. Logitech also recommends simple backgrounds and avoiding bold patterns (Logitech video-call appearance tips).
Put the camera and background to work with the light
Lighting handles reflection, but framing still matters. Put the camera at eye level or slightly above, raise a laptop on a stable stand if necessary, and frame your shoulders with a little space above the head. Logitech’s checklist likewise recommends eye-level cameras and front light (Logitech PDF checklist).
For glasses, clean the lenses and raise, move sideways, or move back the light source. Do not tilt frames until they look unnatural. Solid mid-value tops are generally easier for webcams than bright white, shiny fabric, or busy patterns. For wider workwear ideas, see Does a Shaved Head Look Professional at Work?.
Five-minute troubleshooting checklist before a call
Use your platform’s preview, record a short private clip, or open the webcam app. Do this five minutes before an important call, not while someone is waiting for you to join.
If the room cannot be changed, use software as a final assist, not the foundation. In Zoom, test Portrait lighting or the low-light setting in your preview, then stop before the image looks overly processed. The most dependable improvement remains light direction and a balanced background.
Grooming and clothing: support the setup, do not fight it
Use gentle cleansing, the amount of lightweight moisturizer your scalp needs, and give products a few minutes to settle. Blot true excess oil with a clean tissue before a meeting; avoid harsh astringents or a new close shave just before presenting. Bald Head Care Routine covers the broader routine, while LinkedIn Headshots for Bald Men goes deeper on still photos.
A clean collar, even beard line if you wear facial hair, and a non-reflective top usually matter more than chasing perfectly matte skin. You are making your usual appearance easy to see, not creating a different person for camera.
Before you settle on a visual direction, BaldLooks Free Analysis can give you a bald-look report from one photo. Paid BaldLooks plans let you compare your shaved look across angles, outfits, and office or outdoor settings—useful for choosing the grooming and clothing combination your video setup should support.
The practical takeaway
The answer to video call lighting for bald men is not to eliminate every reflection. It is to replace small, direct, or overhead light with a larger, softer source near the camera. Face a window, soften a desk lamp, raise the webcam, and give yourself a quick preview before the meeting.
When your face is lit evenly, your scalp looks clear and intentional—part of the whole frame, not the focus.